
Wrist exercise guide
Prayer wrist glide
Lower hands slightly. This guide covers the setup, suggested dose, muscles and body areas targeted, common mistakes, and a safer way to open the existing guided player at this exercise.
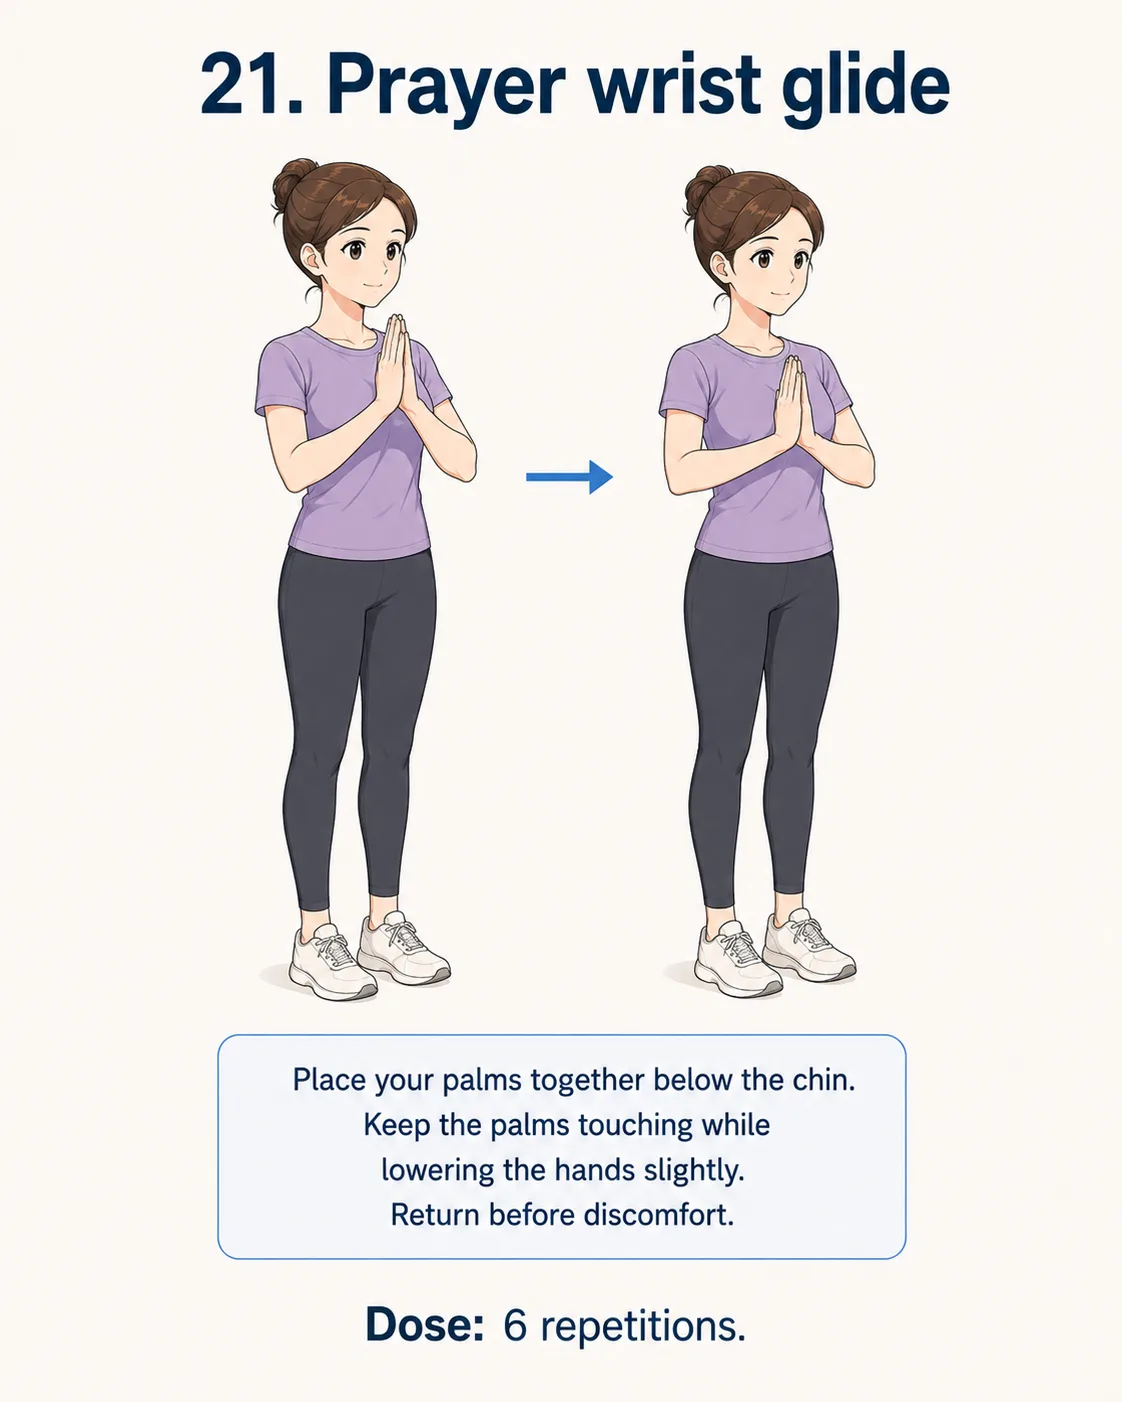
Prayer wrist glide demonstration
Suggested dose
6 repetitions
Target area
Inner wrist and forearm
How to do Prayer wrist glide
- 1Place palms together below the chin.
- 2Keep palms touching as hands lower slightly.
- 3Return before discomfort.
Muscles and areas targeted
- • wrist flexors
- • wrist extensors
- • hand tendons
What it may help with
This movement may provide a gentle option for stiffness or load-related discomfort around the inner wrist and forearm. It does not diagnose or treat every cause.
Common mistakes
- Pressing hard
- Letting palms separate
Make it easier
Use fingertips together only.
Safety notes
Stop if symptoms worsen
Aim for a mild, controlled stretch or light effort around the inner wrist and forearm. Stop and seek appropriate advice if:
- Pain becomes sharp, spreading, or stronger
- New tingling, numbness, or weakness appears
- You feel dizzy, faint, or short of breath
Do not use this exercise to delay care after a major injury or for severe, unexplained, or rapidly worsening symptoms.